|
Q. How can I use Dreamweaver's Templates to help manage my site? A. Dreamweaver uses it's very own file extension .dwt to designate template files. By creating a Dreamweaver template, you may create both editable and un-editable regions. Regions which are not editable can be changed only from within the .dwt file, and then all pages using that template may be updated to reflect those changes. For more information, see the tutorial below. Saving Time with Templates Author: Shane
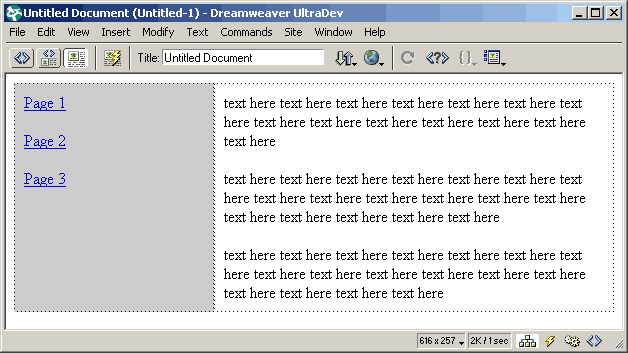
Fowlkes RequirementsThis tutorial assumes that you already know how to define a new site in Dreamweaver 4 and that you will be performing this exercise with a web site that is already defined in Dreamweaver. For a tutorial on Defining a web site, please review the tutorial below. The Basics of Using Dreamweaver Note: It is assumed you are using Dreamweaver 4 or UltraDev 4 for this tutorial. Previous versions differ in template handling and are not covered in this tutorial. Download(s)Download the 3 demo pages and the template file now, and follow along with the tutorial. A Need For TemplatesIf you're like me, you try to maintain a consistent look and feel when designing a web site. Before I discovered the template feature in Dreamweaver, I typically would create a page as my "boilerplate" for other pages. Once I got the table layout, graphics, and other page elements the way I preferred them, I'd save the file with a name such as template.htm. I'd then use this html page as a starting point for all pages. I'd simply open that file, fill in the needed content, and then Save As a new file. This works pretty good at first but as your web site grows, it becomes more and more difficult to manage. If you need to make a design change after you made pages built upon this "template", you would need to open each and every page and modify it. My projects are typically large ones - my sites commonly have dozens of static html pages. If I needed to make a structure or navigation tweak to the page (to fix a Netscape 4 issue for example), I'd have to open each and every page based upon that "template" (template.htm) and make the modification. What a pain! I don't think there has ever been a project where I didn't need to make several changes to the layout after I began creating page based upon a layout design (which meant I had to open up every page and make the modification). It was very time consuming but I always assumed that it was just something that is a part of web development. Well, I was wrong. Welcome Dreamweaver Templates! By using Dreamweaver Templates, you can create a true template and base your pages off of this template. You can have as many templates as you want too - you're not just limited to one. If you need to make a structure or layout tweak, you can modify your template and all of your pages based off of the template will automatically update! It's wonderful! You just edit one file, not 50 or 100. I kicked myself when I learned of how much time I could have been saving by using DW Templates. Let's Make A Template
|
::This page last modified 8/13/2013 at 04:37::
 |
Copyright
© 2001-2025 DreamweaverFAQ.com All Rights Reserved. All brands, trademarks, tutorials, extensions, code, and articles are the property of their respective owners. A production of Site Drive Inc. Legal Notice | Privacy Policy | Disclaimer & Notice
|
 |

